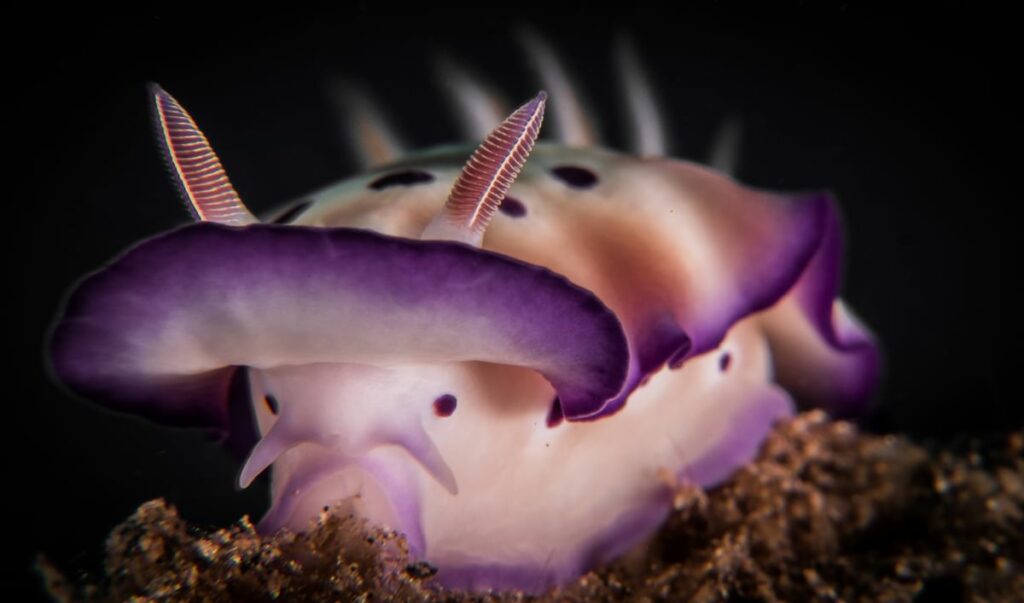
The kaleidoscopic patterns of nudibranchs is the obvious reason why underwater photographers favour them. Shooting nudibranchs can be challenging. Even though they don’t move and don’t hide when we get closer to them, it can still be tricky. So here are some tricks on how to photograph a nudibranch. From us to you!
How to find them?
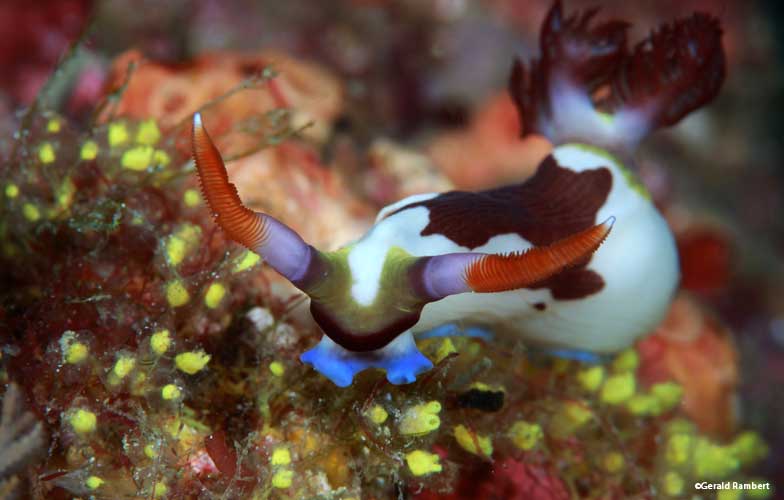
There are over 3,000 species of nudibranchs worldwide. You can find them in almost any marine habitat. So they are around.
Despite their dazzling colours, it can be tricky to find them.
A good place to start is to locate their food source! Most of the species are very particular when it comes to food. They will only feed on one or a few specific food sources such as sponges, fish eggs or even other nudibranchs. So, if you are looking for a particular type of nudibranch, research what it eats.
Another good tip on how to find your chosen nudibranch is to learn the type of habitat they live in. Some species will prefer seagrass, while others are on coral reefs. Diving the habitat you are most likely to find them is definitely another good start.
What equipment to use?
Photographing nudibranch obviously falls into the macro category. Even though some species can be rather large (like the Spanish dancer), the great majority are small. So you should bring everything you normally use for macro photography.
- Lens. a 60mm lens might be considered optional, but it could be a useful tool in combination with a teleconverter. Bringing a 100 or a 105 mm macro lens is a must. And you should also consider bringing several different dioptres.
- Light. You will also find yourself in need of a good focus light. A LED light that produces around 500 lumens or more and has a wide, uniform beam without any hotspots is ideal. Macro strobes and a suitable focus light to ensure optimal working conditions for your camera.
- A lot of patience and a keen eye. Your guides are the best help!
Use manual focus
Work carefully and methodically. After a while you will be able to get the focus exactly where you want it.
Try shifting to manual focus and moving the housing back or forth to achieve the correct focus.
Auto focus tends to miss the target slightly when working with really small stuff.
You might not notice just by looking at the camera display. Try to enlarge the picture to get a better idea. So going on manual settings will get you better results once you get the hang of it.
How to be creative?
Nudibranch photos are all about showing off the subject’s natural beauty. Simple compositions, sympathetic lighting and non-distracting backgrounds are your goals.
Capturing behaviour
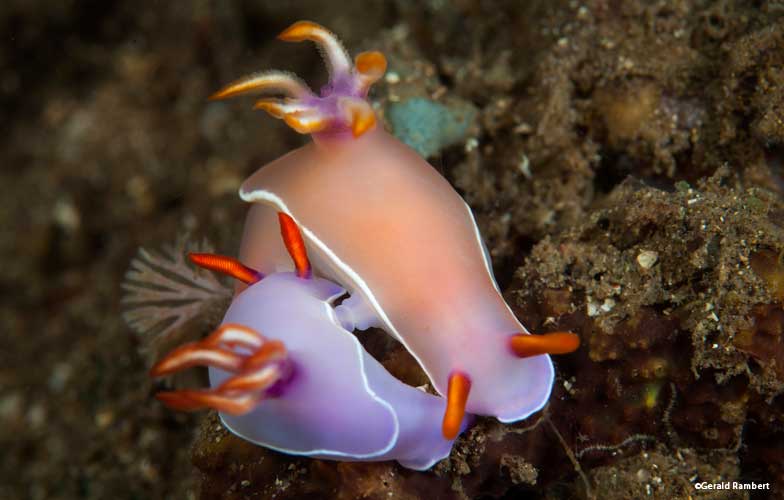
You can really make your nudibranch photo different by showing their behaviour.
Fortunately, nudibranch are usually up to something. Mating, feeding, laying eggs and all sorts! You may even find shrimps hitching a ride!
Different lens, different effect
As you read above, a 60mm lens is perfect for hunting random nudibranch. But different lenses could bring something to your photos! A wider macro lens (a super macro) – such as a 100 mm, can enable you to create a “filling the frame”. The “filling the frame” technique is great to create an impressive appearance of these tiny nudibranchs. It will also bring attention to the colours of your model. It is all about them so fill that frame!
Another angle you could approach would be to use a wide-angle lens. For larger nudibranchs, using a wide angle lens allows you to create different compositions. And this can be really fun to do.
Lastly, try to create different compositions or use a variety of ƒ-stops on the same subject. You will get a feel for what can be done to create something a little different.
Add a pinch of drama
Strobe angle and power are always the best choice for creating drama in an image. Snoots eliminate the immediate surroundings in your image. This makes your tiny subject really stand out!
Take the right angle
A low angle generally gives you eye contact and does away with much of the background clutter at the same time. Waiting for the nudibranch to crawl up onto something allows you to compose it against either an open-water black background, distant colourful reef or the sun ball.
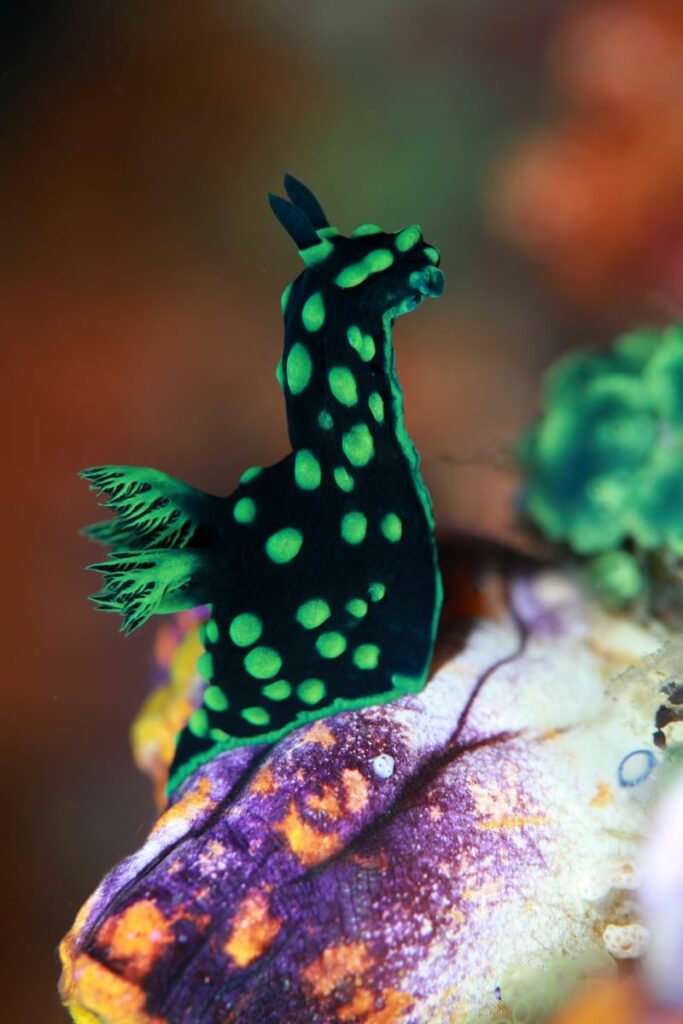
Go for a uniform background that let the nudibranch shine in its own right; a sponge for example. If the background is cluttered and full of objects and different colors, your subject will not stand. They simply will not shine!
Another option is to go for a classical, black background. It is easy to achieve once you find a nudibranch that sits on something that sticks up from the bottom. Get below the nudibranch, shoot at an upwards angle and use the water as background. Using both a high f-stop and fast shutter speed will give you silky-smooth blackness as a backdrop for a brilliantly coloured nudibranch.
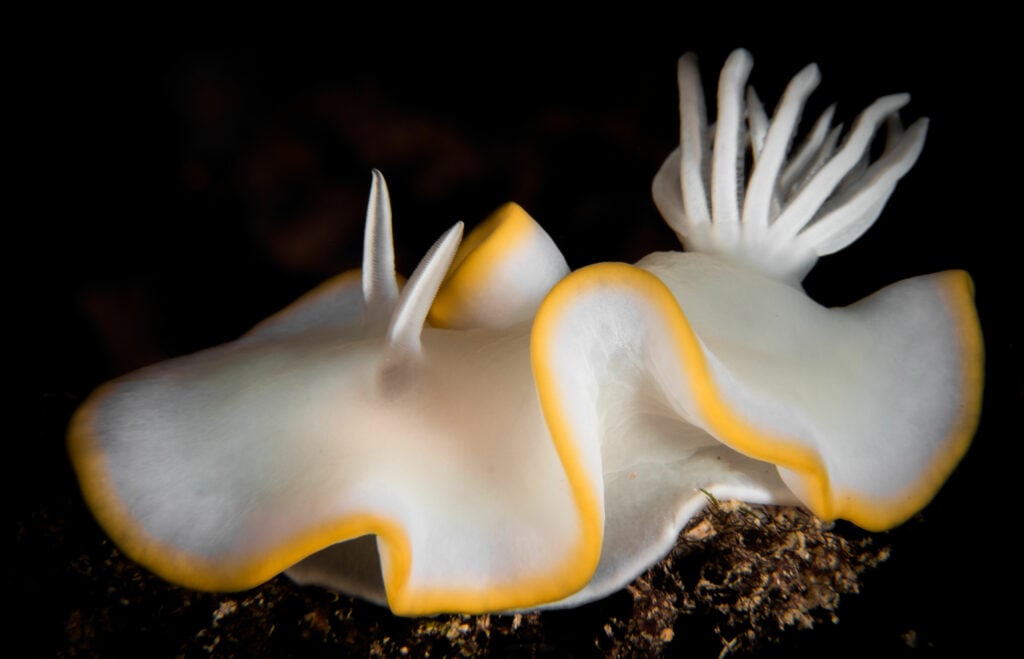
Showcase their features
It is always best to have the eyes and the rhinophores (head tentacles) in focus. Nudibranchs do actually have eyes, and while visible in some species, they are invisible in others. They are located to the front of the animal, slightly below and ahead of the rhinophores.
