Man-made objects underwater make evocative subjects with which divers naturally connect. To photograph shipwrecks is a fascinating twist on “traditional” underwater photography.
Almost every wreck has some amazing history, an interesting story, or some unsolved mystery attached to it. Moreover, wrecks make great artificial reefs and marine life is often abundant around them. Unsurprisingly many divers want to explore wrecks with camera in hand to portray both tragic loss of life and beauty in the same image. Diving and photographing shipwrecks presents many challenges such as size of the object photographed, depth/time, visibility and light.
If you are diving in Truk Lagoon or in another beautiful wreck destination like Bikini, Palau, or the Solomon Islands; here are some tips and tricks on how to best photograph the wrecks.
Know your wreck
In order to photograph shipwrecks, it is important to know the story. Get familiar with the main parts of your wreck and the visibility underwater so your pictures can tell a story and not just random shots of unrecognizable rusting metal.
For deep wrecks, this part is particularly important as you will generally have less time to take to nail the picture.
Go wide
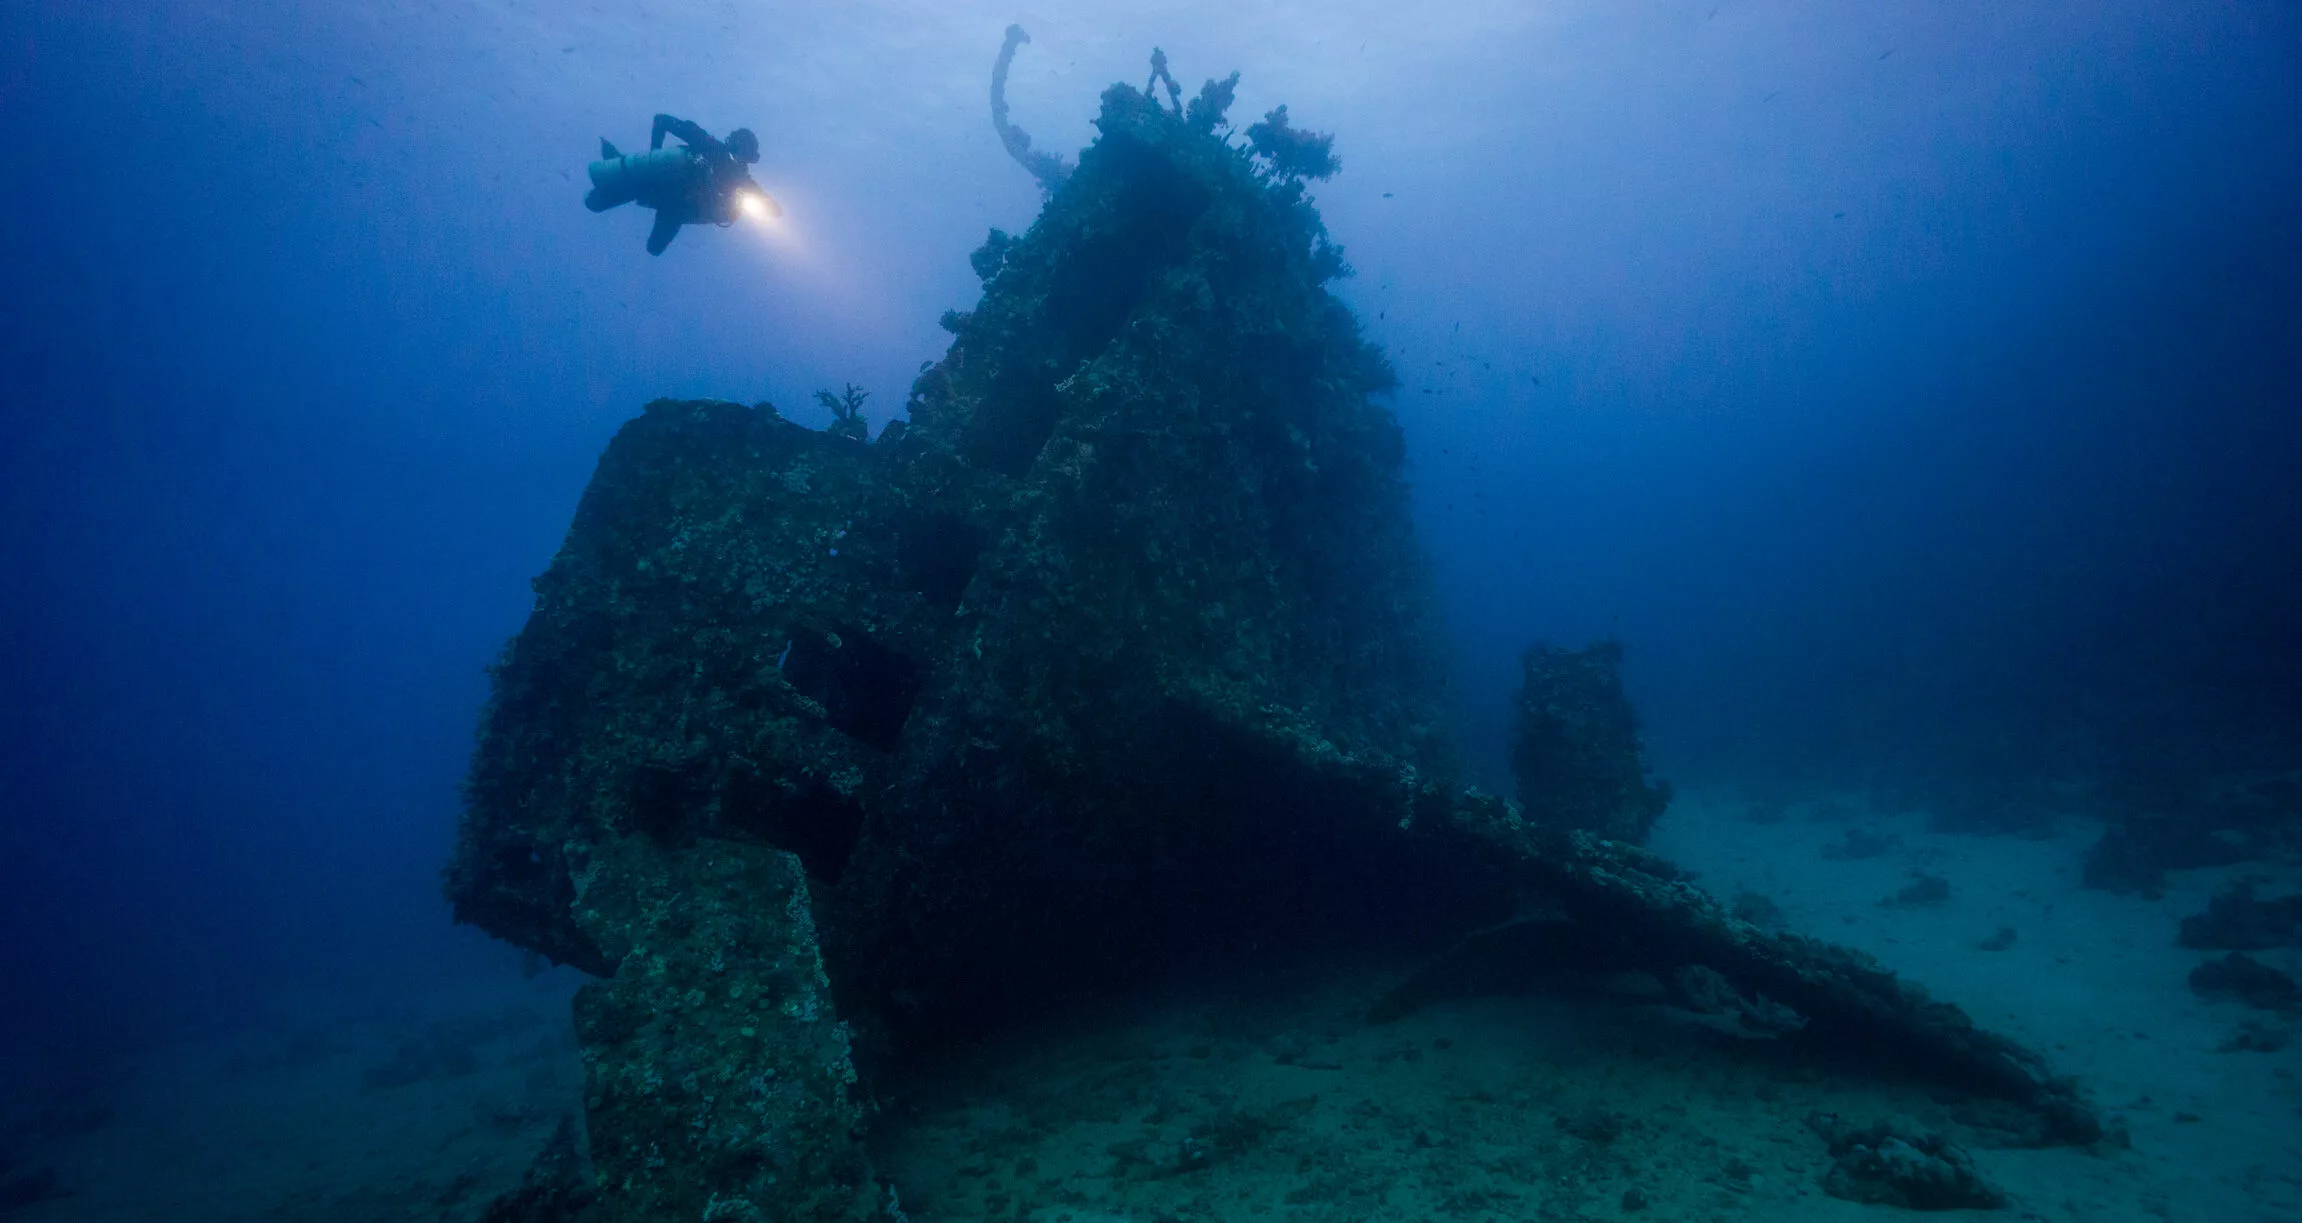
Taking pictures of wrecks is all about wide angle pictures: superstructures, big guns, trucks, and the engine room. Your main decision is which wide angle lens to use. This depends on your preference and what your subject is.
Fisheye lens
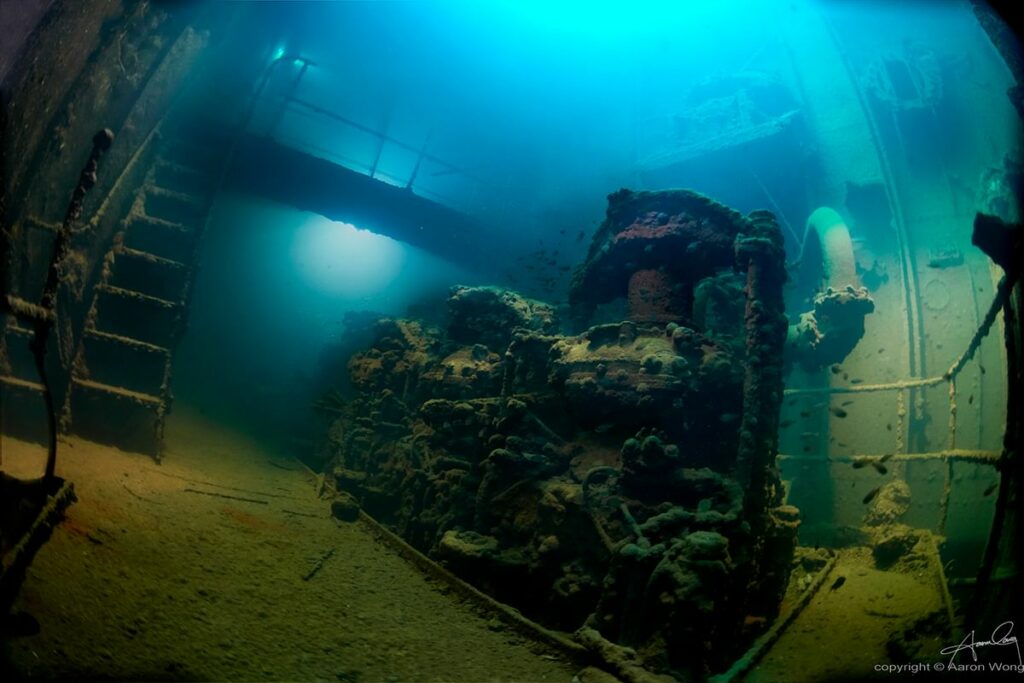
- Provides the widest angle of view, allowing you to get super-close to your subject, even when that subject is large, which helps with lighting your scene and reducing the amount of particulate between you and your subject.
- Affords a large depth of field.
- Allows taking pictures inside confined spaces like cabins, engine rooms and bridges.
- Great for low visibility environments and for creative close focus.
- Adds curvature to your images and noticeable distortion of lines on the wrecks. This effect can add some creativity to the picture.
Rectangular lens
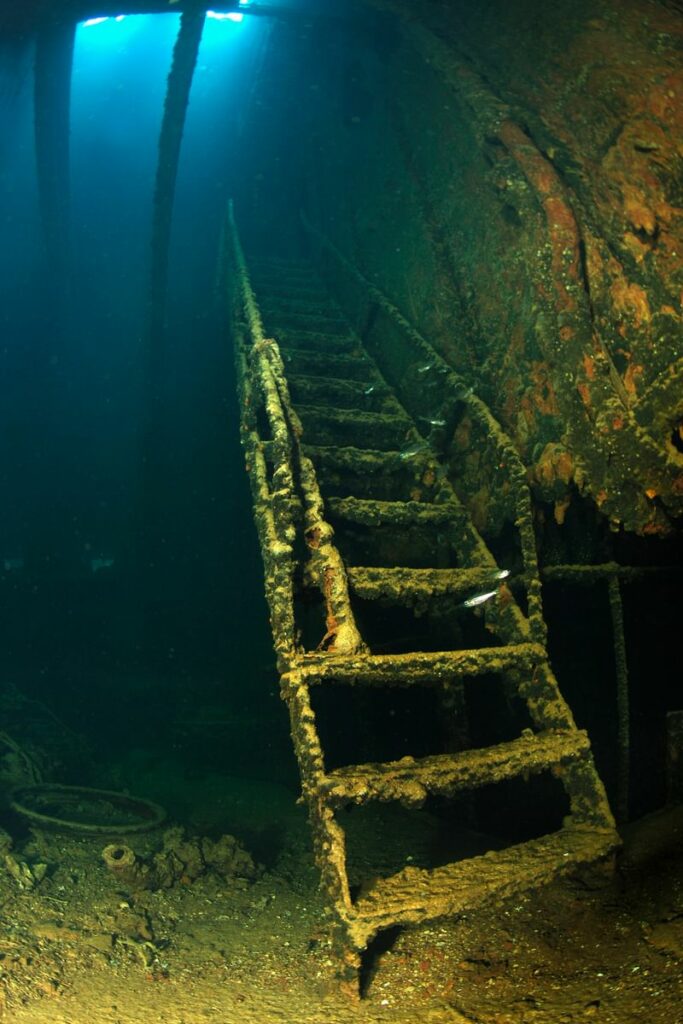
- Excellent when you want hard lines for your wreck photography, as when you photograph a staircase.
- Increases your shooting distance to your scene, which can make dealing with particulate more challenging.
- You may experience some soft corners (barrel distortion) that could extend into your images. It’s a good idea to leave some room around the edges when composing an image so you can crop out some of the barrel distortion in post.
Close-focus wide-angle
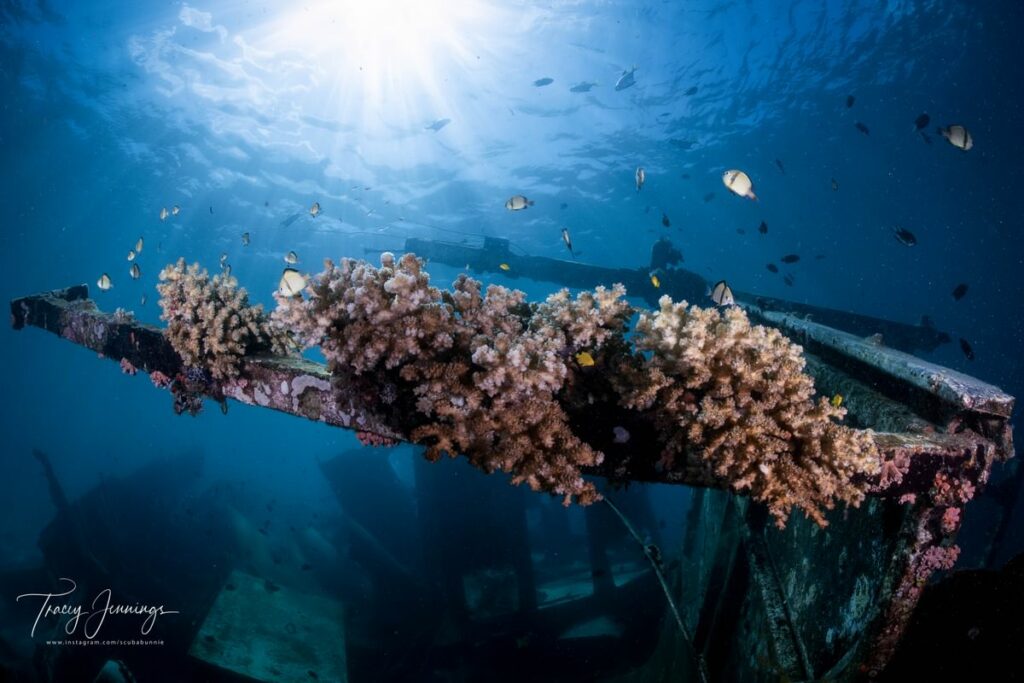
- Close-focus wide-angle can create an interesting perspective in wreck photography by having an alternate subject in the foreground and the wreck in the background.
- Great for soft-coral encrusted wrecks and wreck interiors.
- Push your strobes out far to the side to reduce backscatter.
Master the lighting to photograph shipwrecks
One of the biggest challenges of wreck photography is how to light the wreck. Most shipwrecks are much bigger than your strobes can cover, don’t try and light up the entire wreck with strobes as the light output won’t illuminate such a large area, just use the ambient light. Save strobes for when you have a close-up foreground subject, and balance that light with the ambient-lit background.
Using strobes
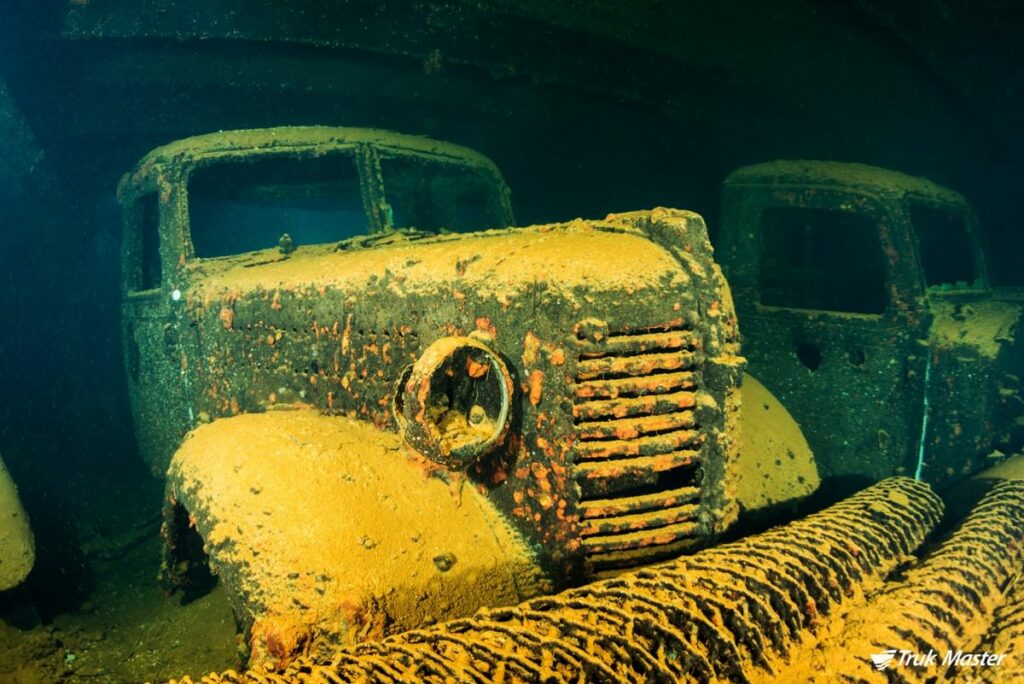
- Shoot at a slightly higher ISO and turn your strobe power down to quarter or half power; in enclosed spaces, you don’t need as much light as you think.
- The closer you are to your subject, the closer your strobes should be to your housing; adjust accordingly depending on your lens and shooting situation.
- It is important to capture areas of the wreck that are identifying elements, and that they are small enough to be covered by the strobes. Popular elements are propellers, ladders, winches and rudders.
- Practice (extreme) edge lighting: Your strobes should never be shining directly at your subject as it will only illuminate any particulate between you and your subject. Any strobe angle facing even slightly forwards results in a lot of backscatter.
- When you are outside of wrecks shooting more typical scenes, the usual rules of edge lighting (turned slightly outwards) still apply.
- If you’re more than 2 meters (6 feet) from your subject, turn off your strobes.
Using available light
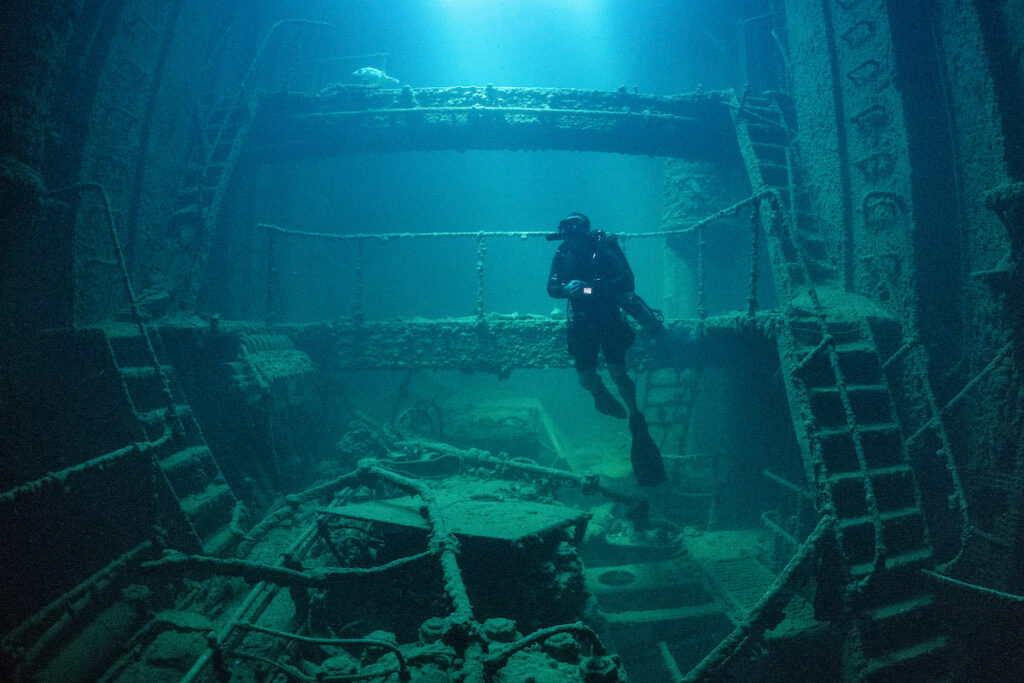
- When you want to get a super-wide image showing a large portion of the wreck, turn off your strobes and shoot with ambient light.
- It is also important to note which direction the natural light from the sun is coming from. If the sun is behind you, you will get a more natural look to the picture and have more detail in the subject. If the sun is behind the wreck, you can expect it to be in silhouette.
- Increase your ISO to get the right exposure and adjust your settings depending on whether you are shooting towards or away from the sun. Don’t underexpose too much as increasing your exposure in post can lead to noise. Be careful not to blow out your highlights.
- Set the camera’s white balance manually to bring color back into your image.
- If you want to eliminate your strobes entirely, consider using filters to add color back into your photos.
- It gives a sense of depth inside a wreck by using ambient light in the background.
Using a remote strobe
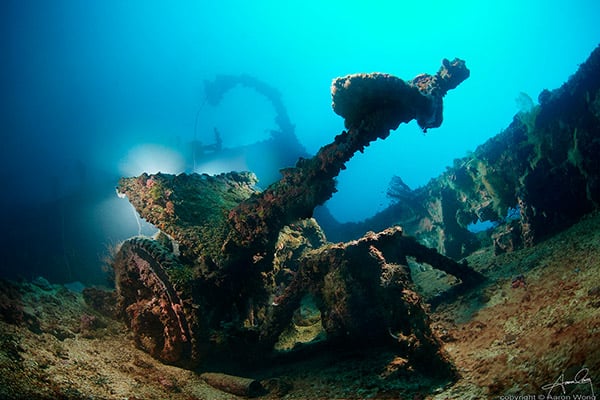
- Sometimes there is no possibility of bringing in ambient light, and you still want to convey a sense of depth. A tool you can use for this would be a remote strobe, or ‘off camera’ strobe. This is an additional strobe that is triggered remotely by the light from your strobes. You can place it wherever you want to create dimension to a closed space.
- A remote strobe can also be used to light something in a room such as the boiler, or steering wheel, or some other interesting element.
Your subject
What to photograph
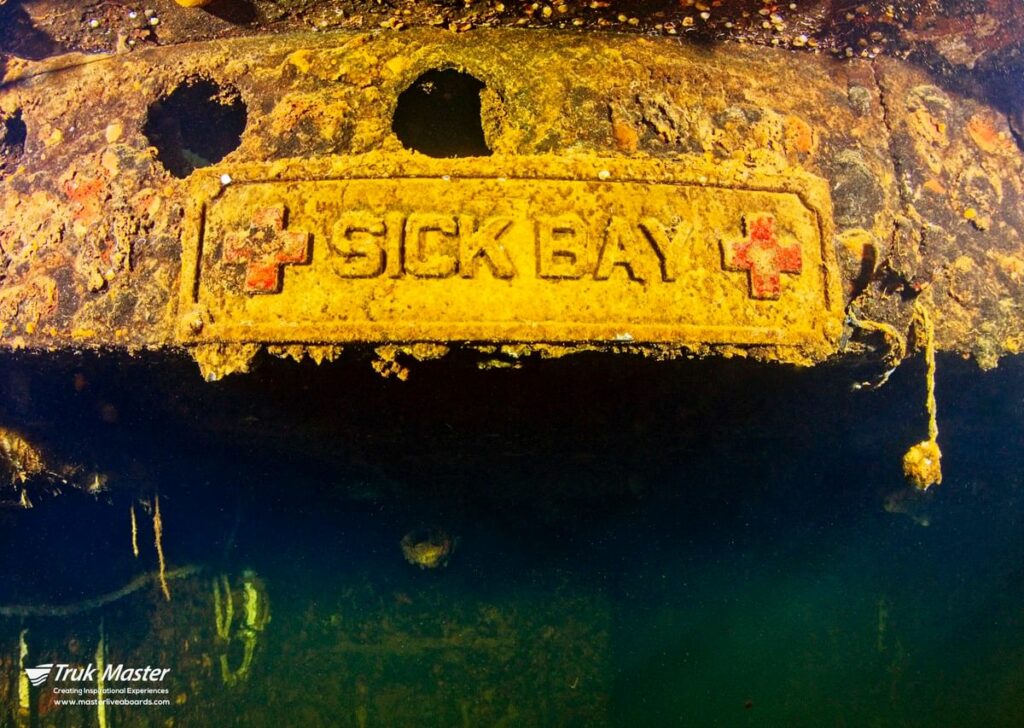
- Get the signature shot. Many wrecks are just too big to do on a single dive, so get the well-known signature shot before moving on to other things. This image is an important part of the ship or an artifact inside the wreck. It can be the bow gun, prop, ship’s bell or anything that is easy to recognize on the wreck.
- The propellers. Nothing stands out more than an encrusted propeller from a ship.
- Bows and sterns. They are often the most recognizable parts of the ship.
- Look for silhouettes. Most wrecks are loaded with great silhouettes, whether you use them in the background with a strobe-lit foreground or on their own. The king posts, masts, and ship guns are all good places to look for silhouette potential.
- Interior and skylight. This isn’t always possible on every wreck. It is essentially some item or artifact lit by strobes inside the wreck along with light from a skylight, porthole, or other opening in the hull that lets in some ambient light. These types of shots really give the viewer an idea of what it is like to be inside the wreck.
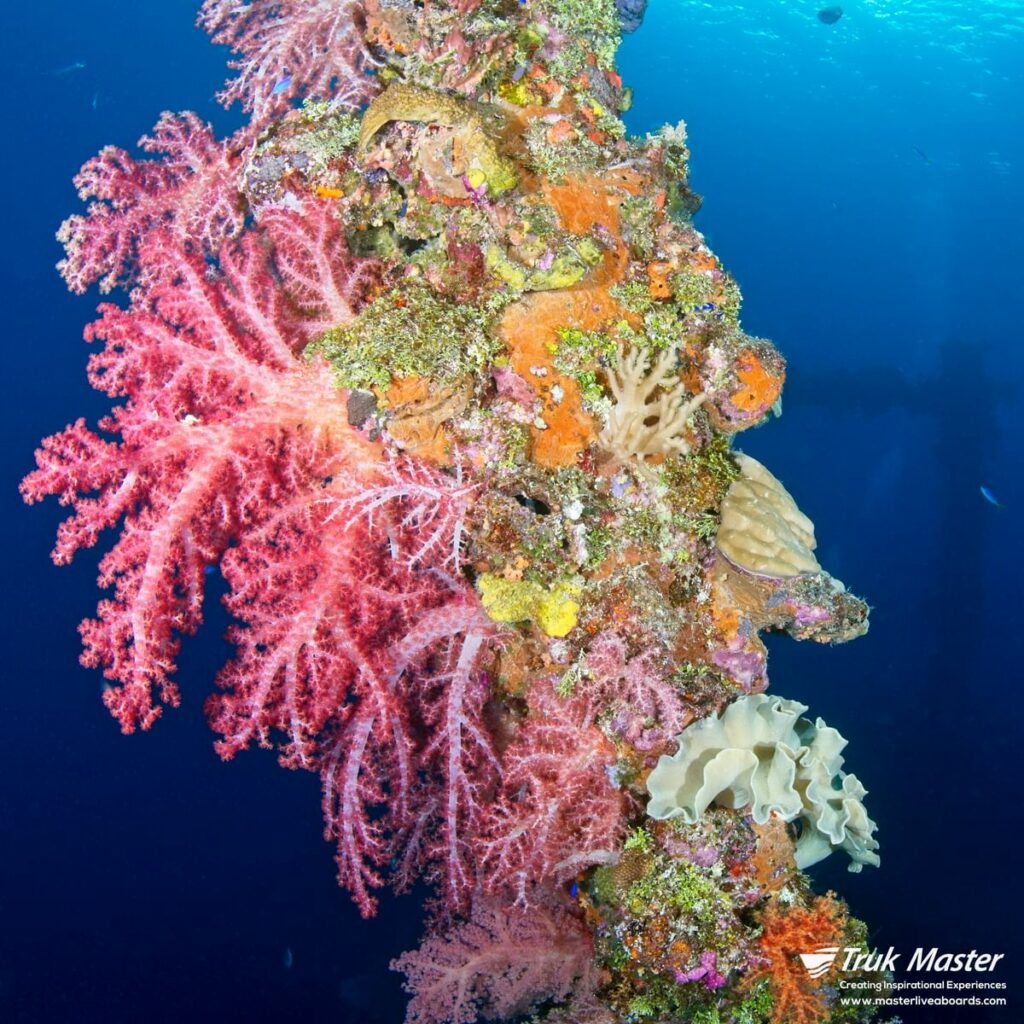
- Shoot some color. The steel hulls on many wrecks attract sponges, soft corals, and other colorful marine animals. Take some shots that show how the wreck has transformed. The key is to include something in the shot that still makes it recognizable as a wreck, otherwise it will just look like a colorful reef.
Use models
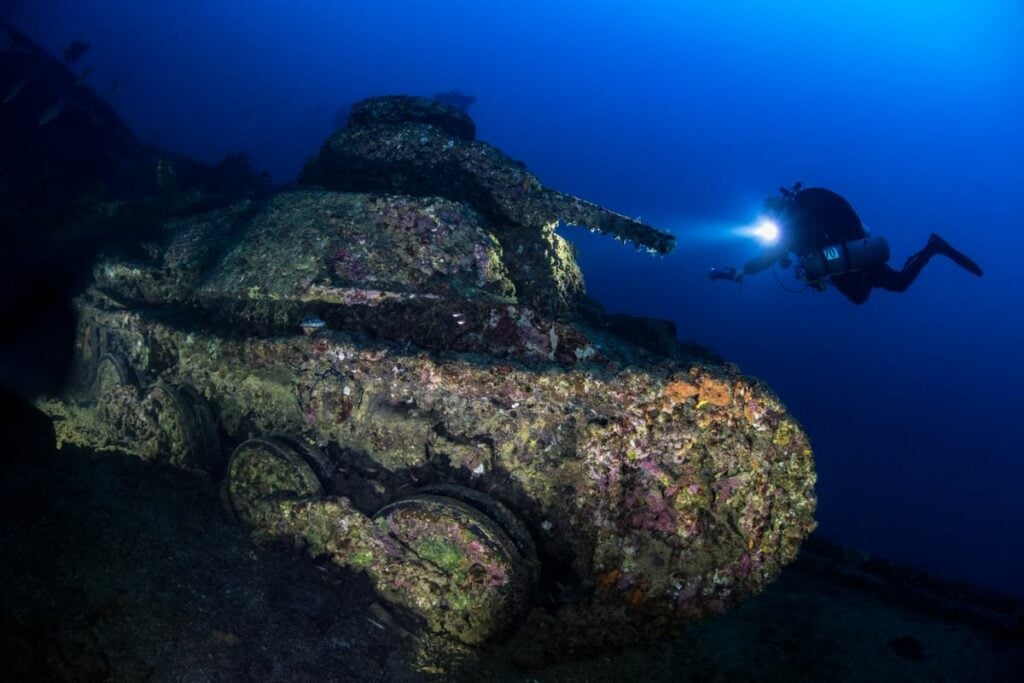
Models can be people or animals. Divers are really useful for adding a sense of scale to show the immensity of the wreck, as well as instilling that sense of exploration and adventure. Marine life will show how the wreck has become a living reef.
Extra tips on how to photograph shipwrecks
Tell the story
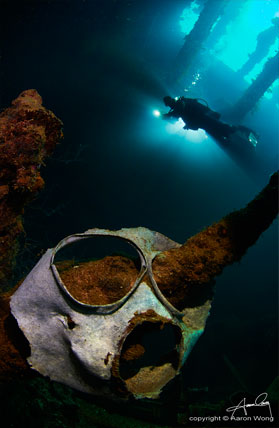
A shipwreck image should tell a story. Underwater photographers need to use every technique in their bag of tricks to be effective. Many times we want the viewer to experience the beauty of the destination, but still remember the drama that happened so long ago. As we said earlier, knowing the wrecks history will help.
Photograph your shipwrecks in black and white
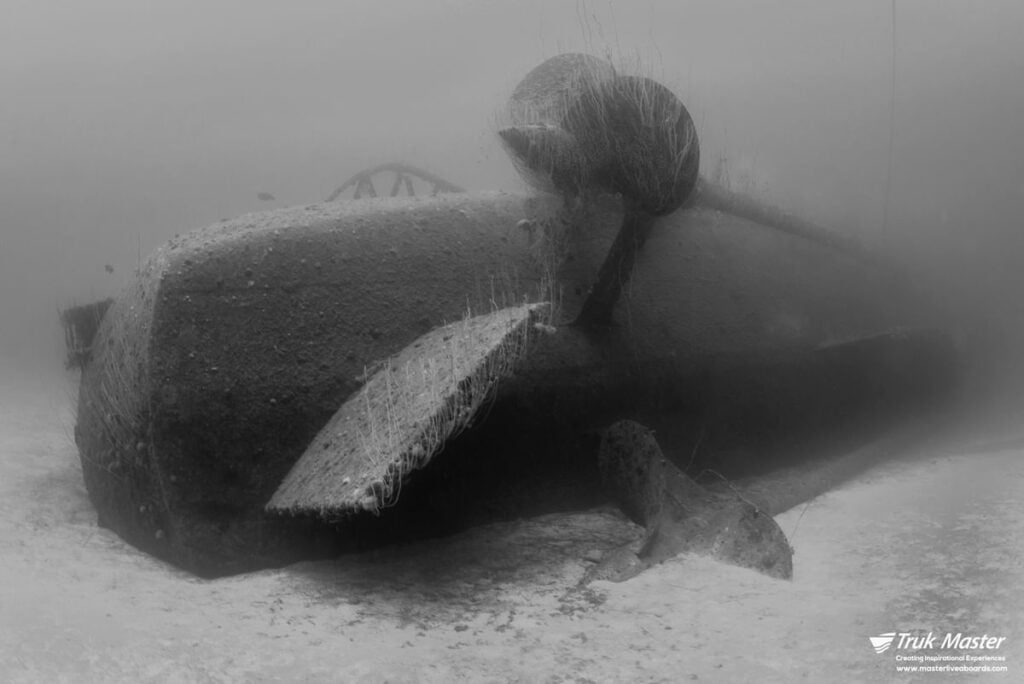
It gives the viewer a sense of time and age. It also can help improve a very blue photo by converting to black and white to show contrast and depth.
What if the viz is bad?
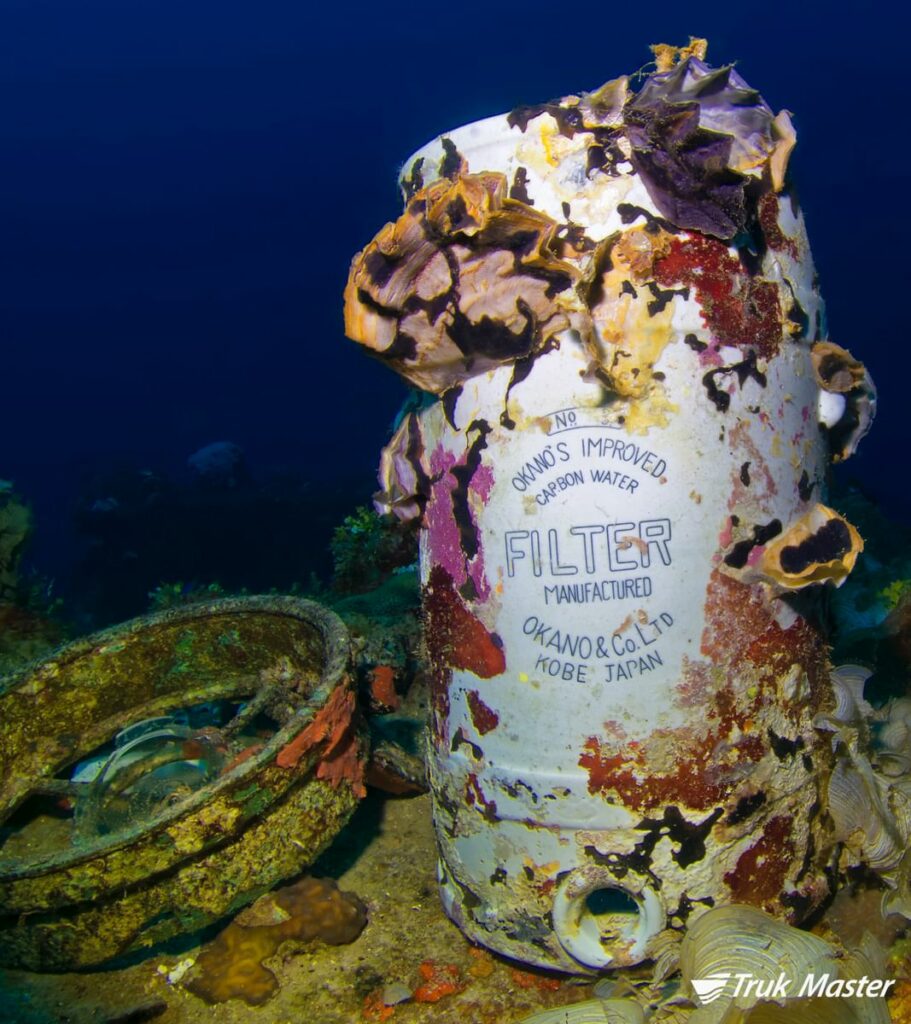
- Increasing ISO can help capture ambient light shots in lower visibility and usually it’s best not to use a flash as the nutrient-rich water creating backscatter.
- Switch to macro, Most wrecks are loaded with tiny marine life or artifacts.
Shoot down
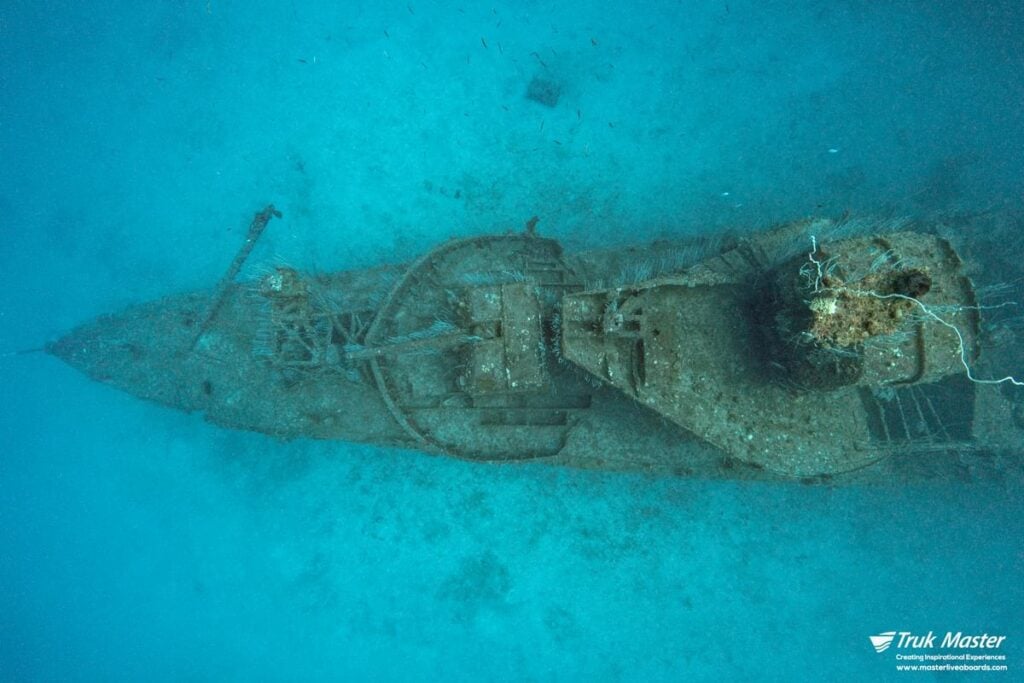
Typically as underwater photographers we want to shoot “up” in order to separate our subject from the background but wrecks often look great when shot from above looking down.
The Photographer
- When inside a wreck, good buoyancy and fin kicking technique (frog kicks) are important to avoid silting up the area. It’s also important to minimize contact between you and the wreck and stay out of the wake of other divers.
- Remember to dive safely with a buddy, and always keep an eye on your depth and air.
- Many of the wrecks we dive have gone down with the loss of human lives. Some still contain bones to this day. Treat such wrecks with the same respect you would show at any other gravesite.
It’s exciting and challenging to photograph shipwrecks. The wrecks, however, are great subjects to practice your composition and lighting skills – especially when shooting wide-angle.
Save this guide on how to photograph shipwrecks and use your underwater photography skills in Truk Lagoon, Bikini Atoll, Solomon Islands and Palau! Contact us for further information. And don’t forget that we offer special photography trips as well!
